Understanding CV Joint Failure
So, let’s get into it. When we talk about CV joints, we're discussing a critical part of your vehicle's drivetrain. They allow for smooth power transfer while accommodating the up and down movement of the suspension system. However, if you’ve ever had a CV joint fail prematurely, you know how annoying that can be. The reason behind this? Most often, it boils down to one thing: inadequate protection.
Why Do CV Joints Fail?
There are several culprits that lead to CV joint failure. First off, there's dirt and debris that sneak in through those little gaps. Once contaminants invade, they can create havoc with the grease inside, leading to wear and tear. Secondly, improper installation or cheap components can spell disaster. Trust me, I’ve seen my fair share of DIY disasters when folks skimp on quality parts, thinking they’re saving money. Spoiler alert: they usually end up spending more in the long run!
The Role of Strut Dust Sleeves
This is where advanced strut dust sleeves come into play. These nifty pieces of engineering act like a shield, safeguarding your CV joints from the nasty stuff that can cause premature failure. Think of them as the bodyguard for your car’s critical parts. They keep out dirt, moisture, and everything else that could potentially compromise the integrity of your CV joints.
Choosing the Right Sleeve
Not all strut dust sleeves are created equal. You want something durable, flexible, and made from materials that can withstand the elements. That’s why I always recommend looking for products from reliable brands like Guanghua. Their sleeves have a reputation for being tough yet flexible, which is exactly what you need. Avoid those flimsy options; they might save you a few bucks upfront but will likely cost you dearly later on.

Installation Tips for Success
Installing strut dust sleeves isn’t rocket science, but there are a few pointers I’d like to share. First, make sure to clean the area thoroughly before applying the new sleeve. Any residue left over could hinder performance. Also, don’t forget to check for any existing damage on the CV joint itself. If you find anything amiss, it might be worth inspecting other parts, such as the Steering Rack Boots or Shock Absorber Boots . A holistic approach works best!
- Step 1: Remove old sleeves carefully to avoid damaging surrounding parts.
- Step 2: Clean the area with a suitable solvent.
- Step 3: Slide on the new strut dust sleeve and ensure it fits snugly.
- Step 4: Double-check all connections before reassembling.
Maintenance Matters
Once you’ve got those sleeves installed, don’t just forget about them! Regular maintenance is key. Check for any signs of wear or tears during routine inspections. Remember, the longer you keep your CV joints protected, the better your vehicle will perform overall. And if you happen to notice any leaks or unusual noises, don’t wait too long to investigate—you might save yourself a lot of trouble down the line!
Other Components to Consider
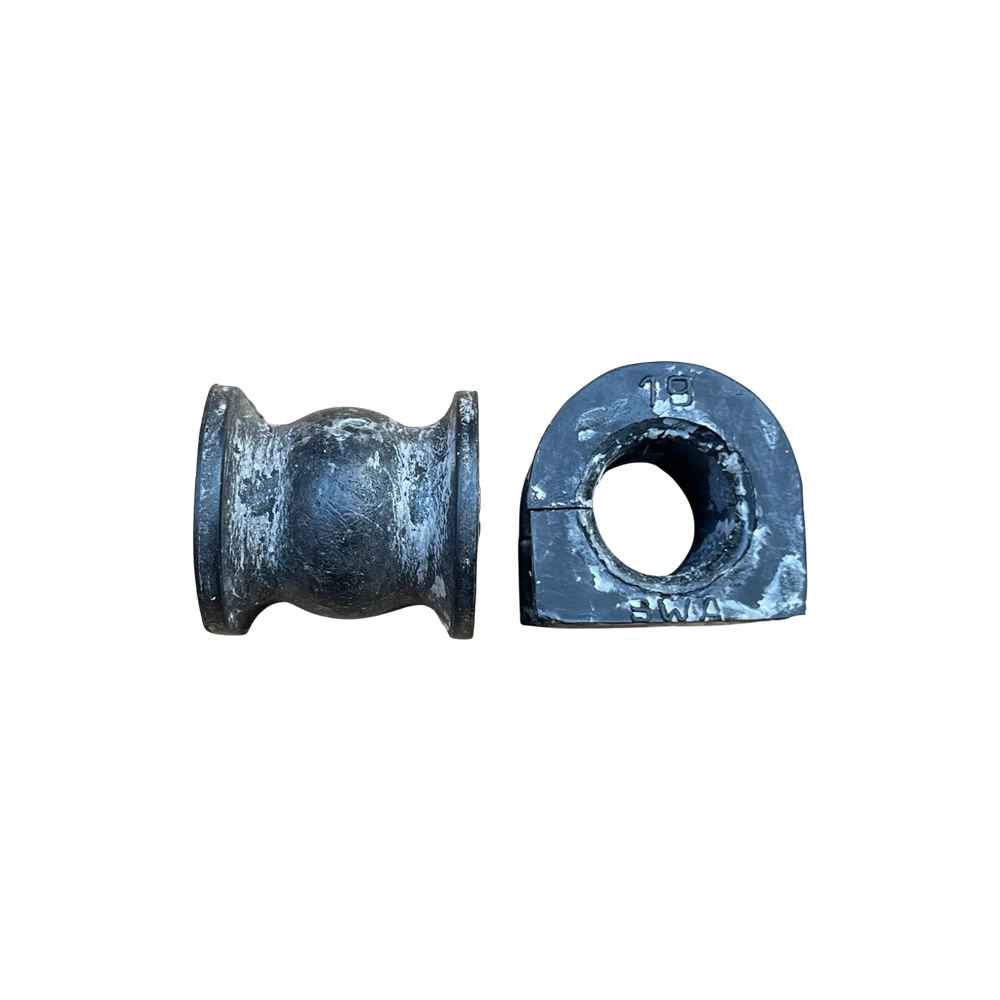
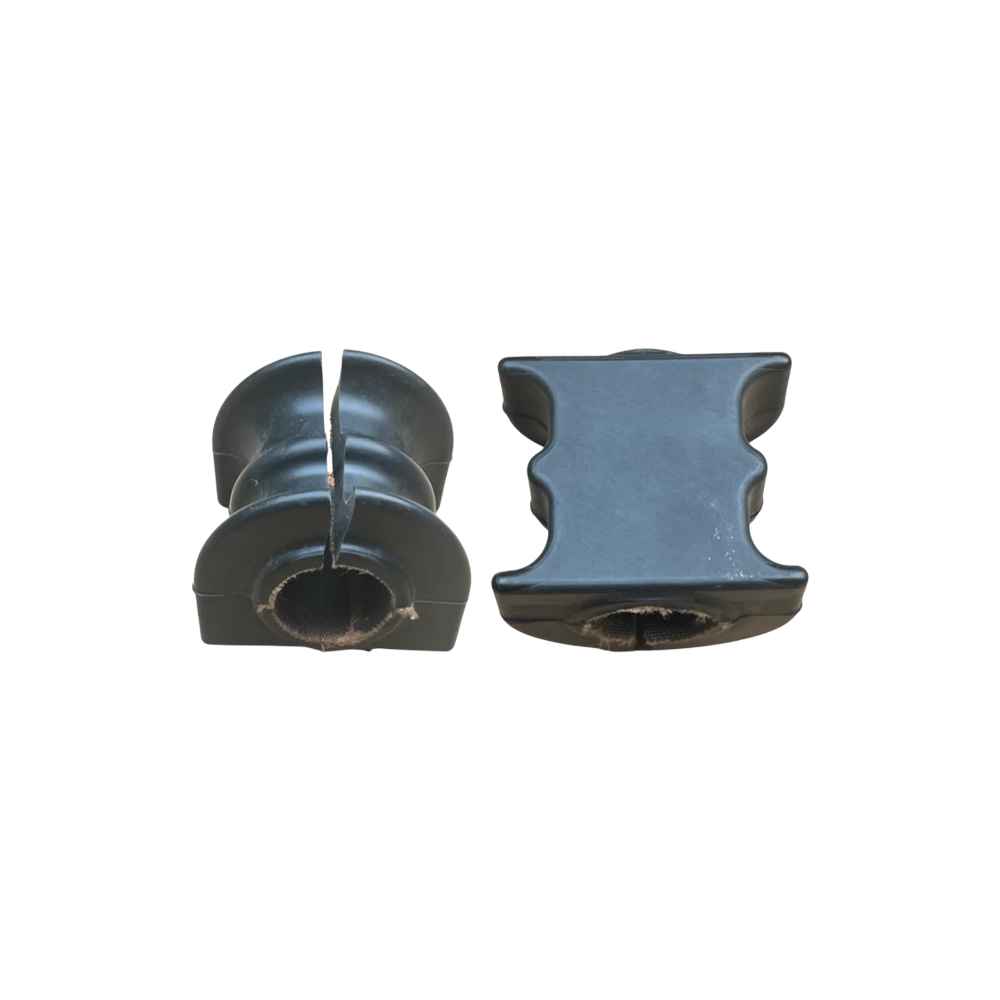
While you're at it, consider checking out O-Rings & Rubber Sealing Rings along with stabilizer bar bushings. All these components work together, and neglecting one can affect the others. It’s a bit like a chain reaction, really. You want every link to be strong, or the whole operation can falter.
Final Thoughts on Preventing CV Joint Issues
To wrap it all up—preventing premature CV joint failure really comes down to a combination of quality parts, proper installation, and regular maintenance. Investing in a good set of strut dust sleeves will pay off by extending the life of your joints significantly. Plus, who doesn’t love a smoother ride? So, gear up, get those sleeves on, and enjoy the peace of mind that comes with knowing you’ve done everything possible to protect your vehicle.